
Stitch Studies No. 2: Bookmarks—Navigating Curves & Corners
The first project for my Sewing Basics II class featured two bookmark styles: a corner bookmark that, as the name suggests, hugs the top right-hand corner of a page, and a heart bookmark that can be slipped between pages to mark your place.
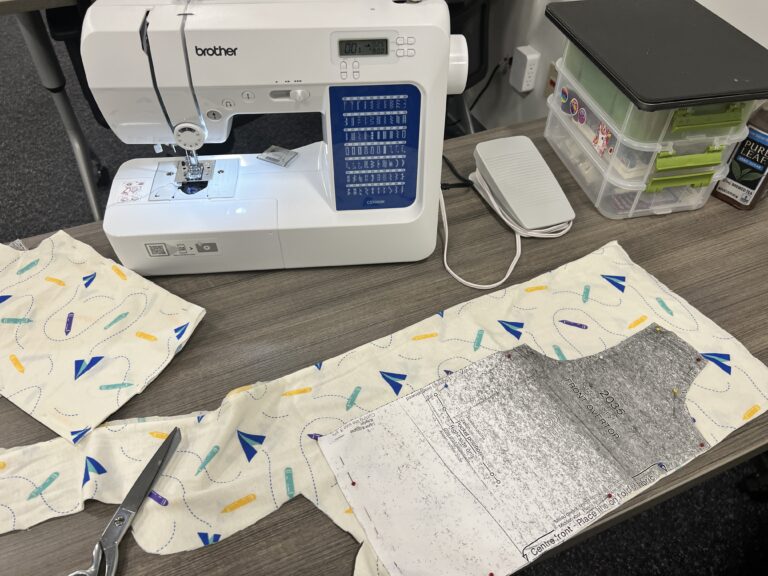
We started by cutting three 5×5 squares for the corner bookmark, then two hearts for the second. To get my hearts identical (and symmetrical), I cut out two additional 5×5 squares, folded them in half, drew half a heart along the fold, then cut along the outline.


Lessons I Learned First-Hand:
- Clipping corners makes turning your work right side out significantly easier. Skip this step, and it becomes almost impossible.
- Don’t be afraid to get creative. To finish the corner bookmark, I needed to close the gap I used to turn it right side out. Instead of just sewing along that small opening, I opted to sew using contrasting thread along the entire outer edge to provide an intentional point of interest.
- Freehanding your seam allowance on a curve is not the play. With limited class time, I rushed the edge of my heart a little bit, and instead of outlining my margin, I just went for it. As a result, one side of my heart looks a little wonky/pointier than it should.


Our next lesson will focus on interfacing, which, at first blush, looks a little challenging. Wish me luck!